Start with static pictures, then inspect motion. Focus on one observation at each step and record what you actually see rather than assigning a monitor score.
Prepare the display you want to inspect
Connect the monitor, check its recommended or native resolution in system settings, and move the browser onto it at 100% zoom. Use everyday brightness and note display mode, refresh rate and overdrive settings for later comparisons.
Open Monitor check and read its preparation area. The seven tests include core, recommended and optional steps; skip any uninspected item. For a confirmed OLED monitor, prefer the dedicated OLED flow, which omits LCD backlight bleed.
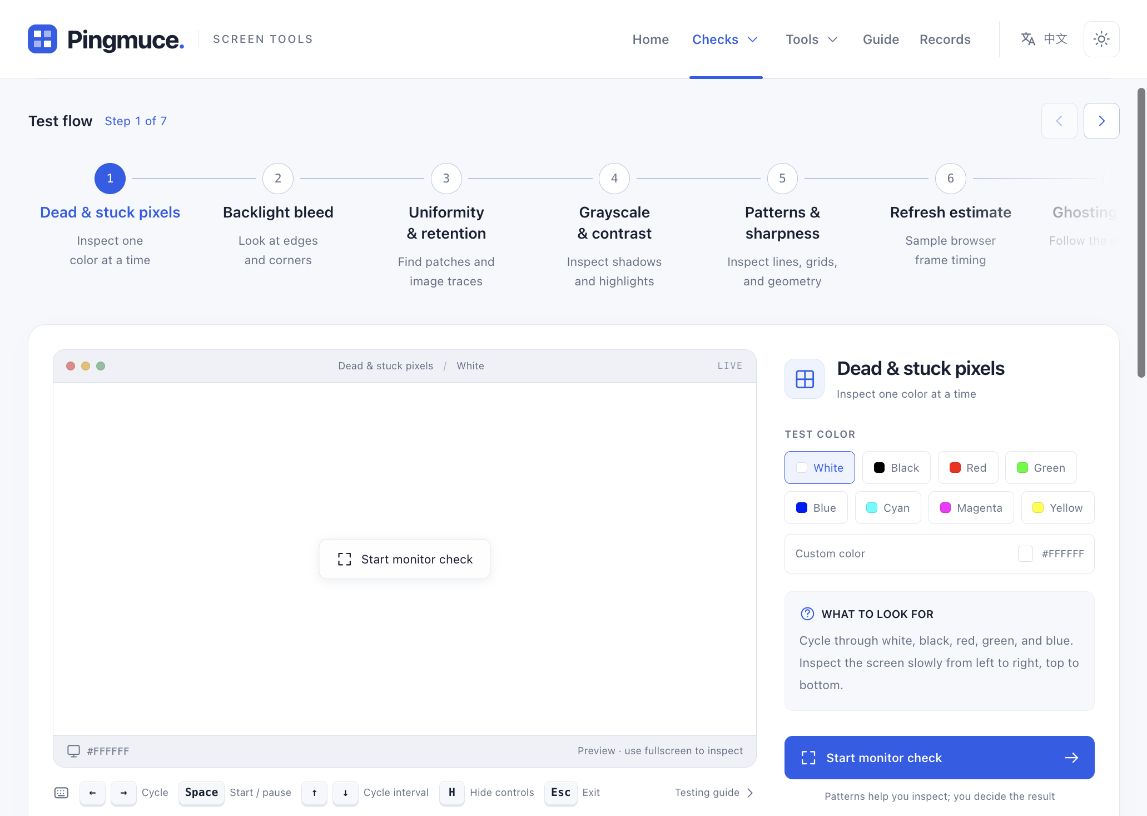
Checks one and two: pixels and bleed
- Pixel points
Cycle white, black, red, green and blue while scanning slowly for fixed points. Clean and compare backgrounds before recording a finding.
- Backlight bleed
In a dim room, inspect edges and corners on black and change your angle slightly. Fixed bright areas, angle-dependent glow and reflections can resemble one another. Camera exposure may exaggerate the appearance, so describe its location and changes rather than judging only a photo.
Checks three and four: uniformity and gray levels
- Uniformity
Compare gray, white and red for uneven brightness, tint, bands or old-image outlines. Keep a consistent head-on position and viewing distance.
- Gray levels
Gray levels are the shades between black and white. Compare neighboring patches, then shadow and highlight detail. If patches seem to merge, note the settings and recheck. The patterns do not measure an instrument-grade contrast ratio or provide a pass score.
Check five: patterns and sharpness
Start with standard-size circles, grids and text. Look for distortion, blurred edges, halos or doubled outlines before trying finer horizontal and vertical lines.
Very fine lines can blend into gray or show ripple patterns because of scaling, browser compositing and distance. Return to standard size and compare settings with the same pattern. Fine lines alone cannot confirm a fault or prove one-to-one physical pixel mapping.
Checks six and seven: timing and motion
- Browser timing
Hertz means updates per second. The webpage estimates its update frequency from browser animation callback intervals. Keep it foreground for the roughly ten-second sample and repeat. A difference from system settings does not alone prove a monitor fault.
- Motion trails
Follow the moving target with your eyes, beginning at a lower speed and comparing backgrounds and target tones. Look for trails, blur or inverse edges. Browser load, frame pacing and eye tracking affect the appearance; it cannot be converted directly into panel response time.
Keep findings together with their settings
Record Looks clear, Issue noticed or Not sure. Skip uninspected items. Save the report and separately note brightness, display mode and suspicious locations; the report does not collect those settings automatically.
Compare with everyday documents, video or games. Patterns help reveal differences, while ordinary content helps show their practical effect.